Introduction
If you’re looking to display stock levels, add a sense of urgency with sale countdowns, and automatically hide products that are out of stock, Stockninja: Show Stock & Timer is the perfect tool for your Shopify store. This app simplifies inventory display, helping you manage stock visibility and drive more sales by creating urgency with a countdown timer. In this guide, we’ll walk you through the setup process to ensure you’re getting the most out of Stockninja’s features.
Table of Contents
- Installing Stockninja
- Displaying Stock Levels on Product Pages
- Setting Up the Sale Countdown Timer
- Automatically Hiding Out-of-Stock Products
- Customizing Widget Positions and Style
- Wrapping Up
1. Installing Stockninja
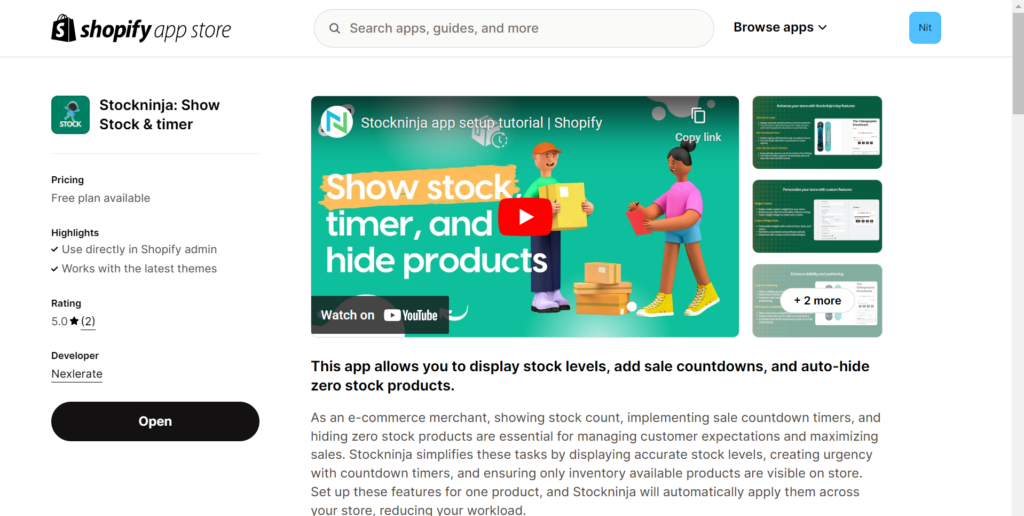
Step 1: Head over to the Shopify App Store and search for Stockninja: Show Stock & Timer. Click Install and follow the prompts to add the app to your store.
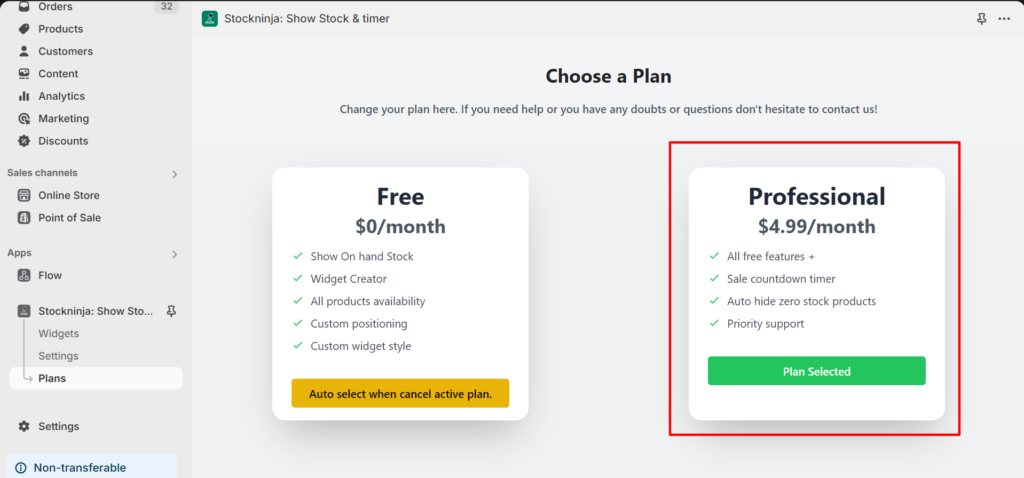
Step 2: Now go to the plans page and subscribe the professional plan, which will give you access to all the features.
2. Creating & Editing Widget
Step 3: Once subscribed, go to app dashboard and click on new widget to customize your product page widget.

Step 4: Now we have multiple layouts which you can select from the dropdown as per your need, and once the layout is selected, you can edit it as per your store color and theme.
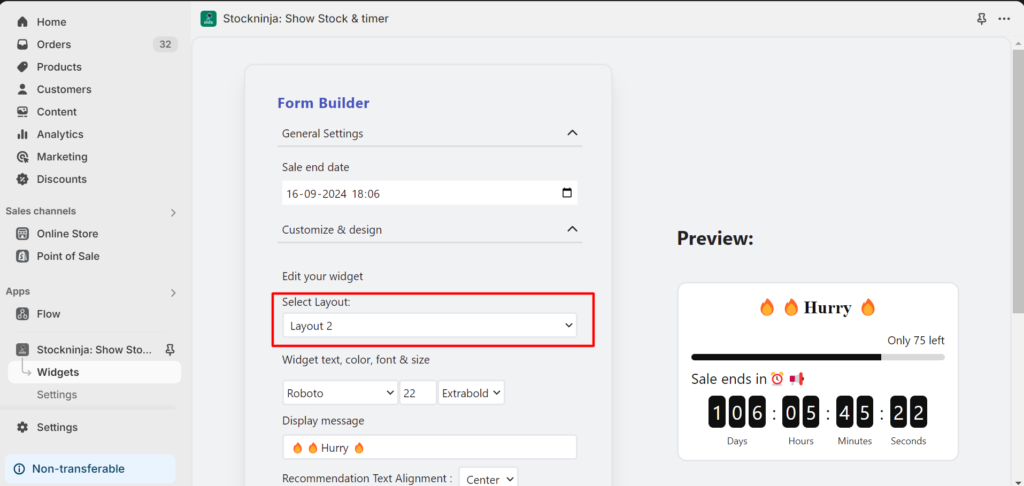
As you can see i have selected and applied 2 and you can also select any layout as per your requirements.
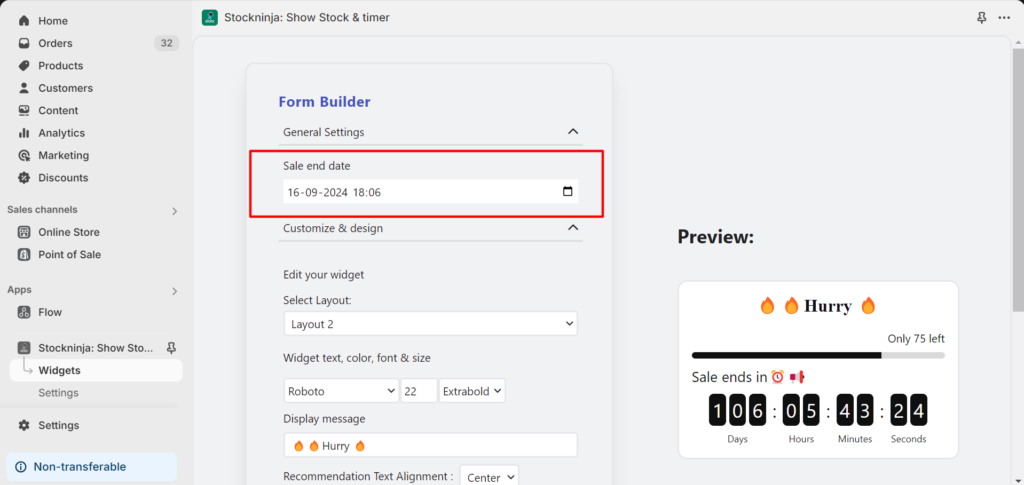
Step 5: Once the layout is selected, we will first select the sale end date on which the sale will end for all the products.
Step 6: Now, we will edit the form and set it as per our store color, font and theme.
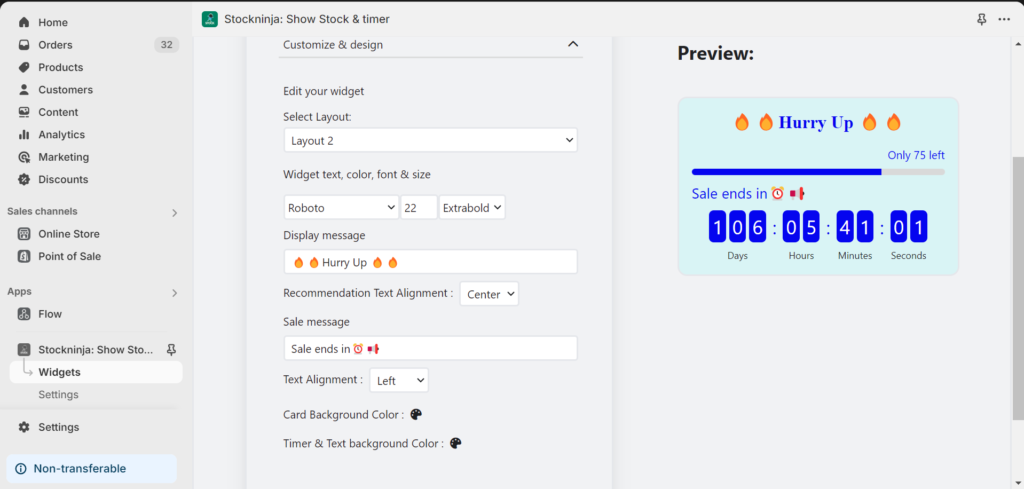
Once the widget is created and you are satisfied by how it looks, now you can click on the “Save and Activate” button and the widget is ready.
3. Basic App Settings
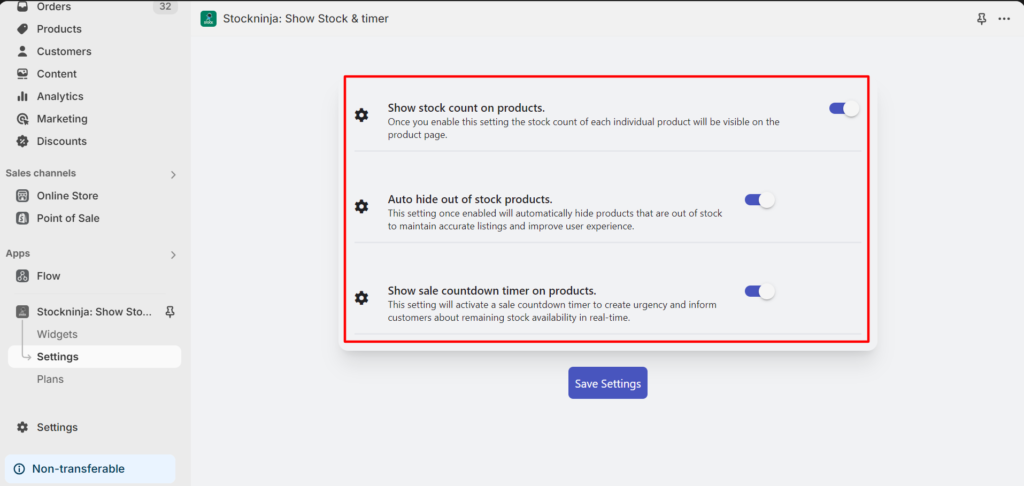
Step 7: Now, we will go to the settings page and enable all the 3 settings, if you do not want all 3 features you can disable/enable any of them as per your need, after that click on “Save Settings“
4. Customizing Store to Show the Widget
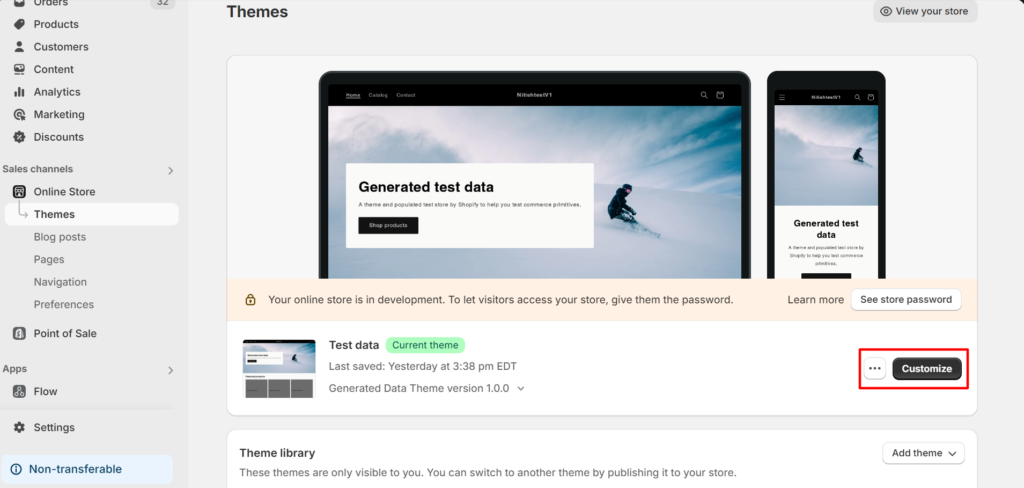
Step 8: Our app is Stockninja: Show Stock & Timer is fully setup and ready to be shown on the store page, for that you have to go to Online Store>>Themes page and click on “Customize” button.
Step 9: Click on the “Homepage” dropdown in the center-top and select the default product page to edit.
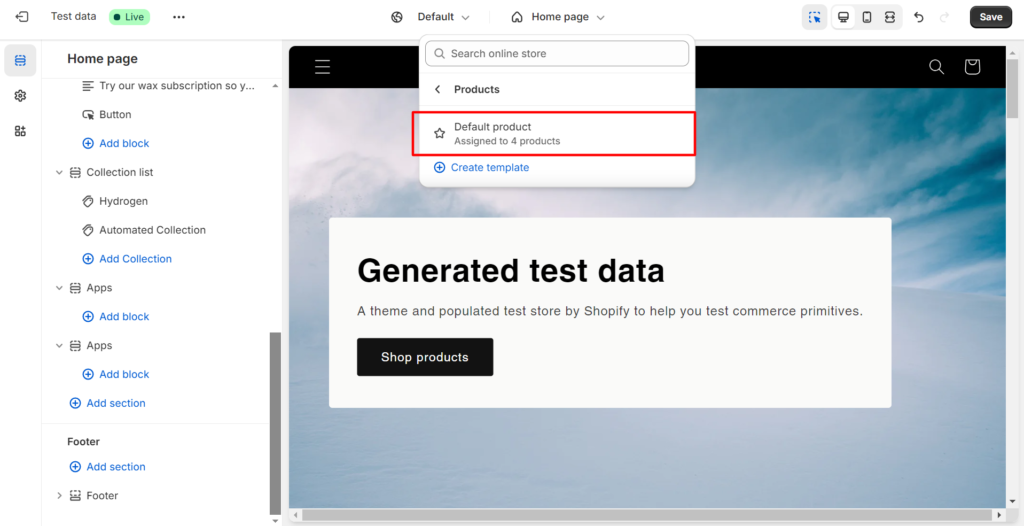
Step 10: Go to the Template and click on the “Add block” button and from apps select the Stockninja: Show Stock & Timer App.
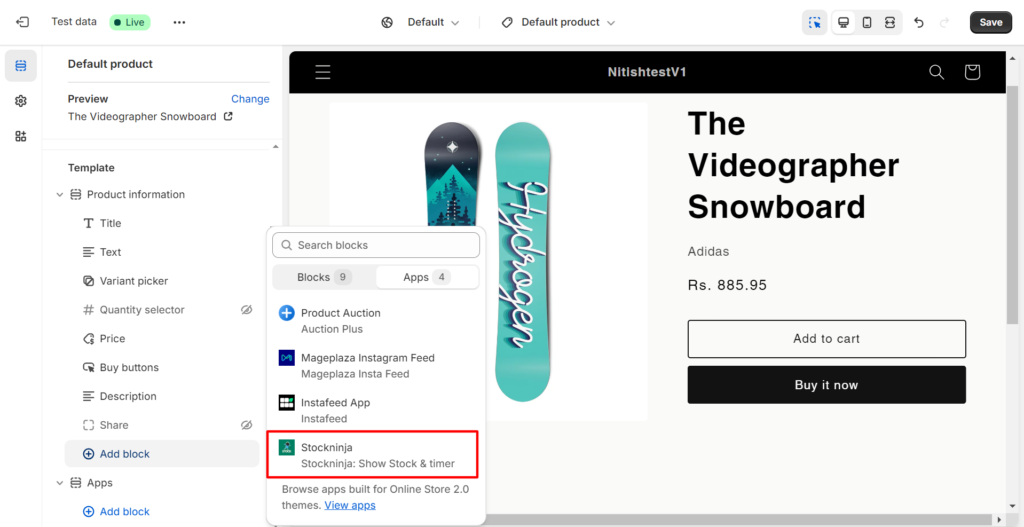
Once chosen you can drag up and down to set the position of the Stockninja: Show Stock & Timer app wherever you want to apply on the Product page.
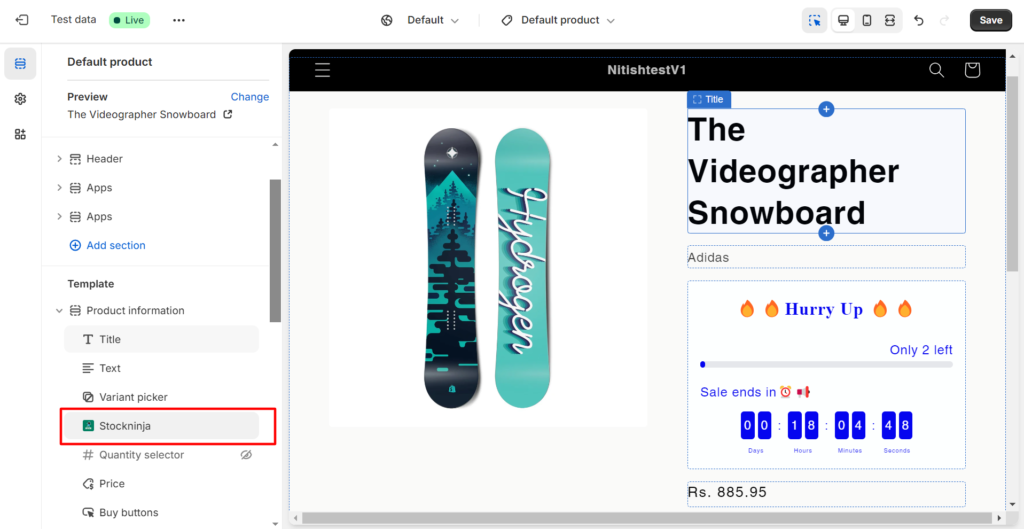
Now click on the top-left Save button and all your products are ready to show stock and timer as per the configuration.
5. Automatically Hiding Out-of-Stock Products
Step 1: To ensure your store only displays products that are available, navigate to the Auto-Hide Settings in the app. Once you enable the “Auto Hide” feature, Stockninja: Show Stock & Timer will take care of the rest in real-time.
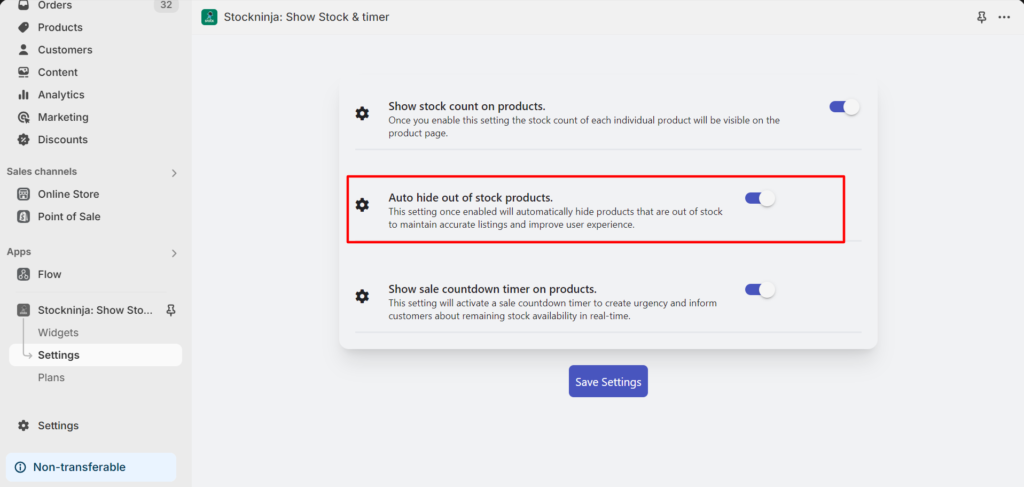
Step 2: When a product’s stock reaches zero, Stockninja: Show Stock & Timer will automatically hide it from your store. This happens instantly, without any need for manual intervention.
6. Wrapping Up
Setting up Stockninja is straightforward, and the features it offers can significantly enhance your store’s performance. By displaying stock levels, adding urgency with a countdown timer, and managing out-of-stock products automatically, you’ll create a better shopping experience for your customers. If you have any questions, don’t hesitate to reach out to the Nexlerate support team for help!